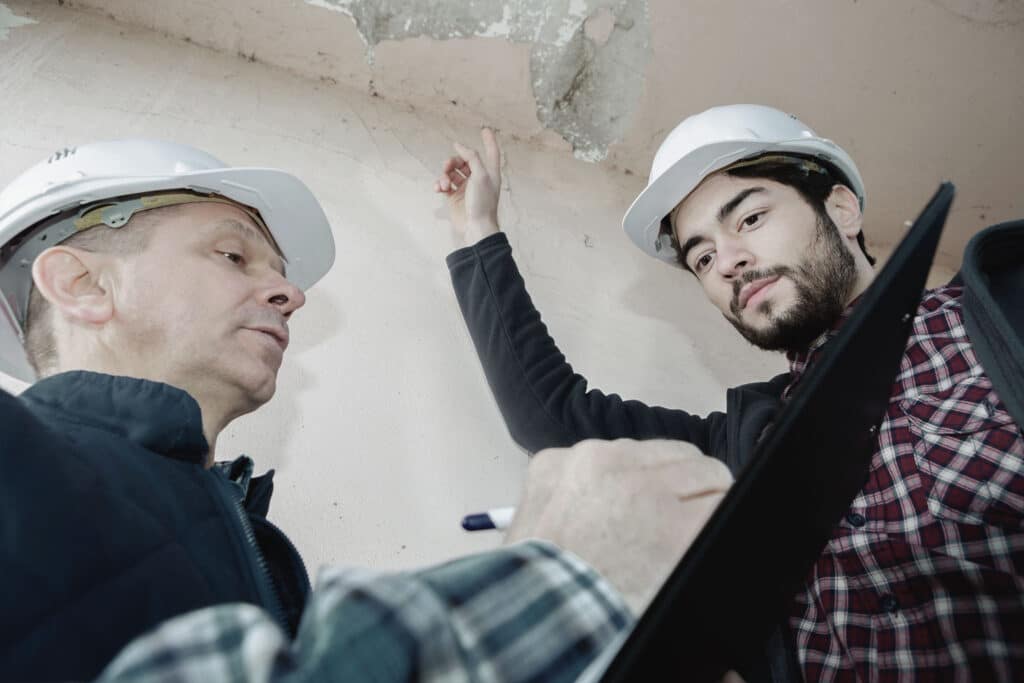
In the UK, over 90% of new-build homes usually have one or more defects. This spotlights the prevalence of this challenge in construction, which can increase the overall costs, make the site unsafe for crews, and lead to project delays.
Whether creaky floorboards or cracked concrete, defects are inevitable during a construction project. It’s, therefore, important for project managers and inspectors to take proactive steps to minimize defects and fix them whenever they come up.
This necessitates the need for a proactive construction defect management plan, which is vital to identify, categorise, prioritise, document, and fix defects. In this post, we’ll cover the steps involved in defects management to help you stay on top of your project.
Free eBook: Guide to a digitised QHSE organisation
Defining defects in construction projects
In construction, a defect is anything that affects the quality and safety of a project. Examples of defects include unstable walls, leaking pipes, loose tiles, blocked gutters, thermal issues, poor fittings, inadequate plastering, etc. Note that these defects can be hidden or obvious.
Defects occur due to several reasons, including poor workmanship, low-quality materials, lack of planning or supervision, incorrect measurements, failure to follow construction codes, defective designs, etc. They also vary in severity and can pose safety concerns to occupants of the building.
The importance of early detection and reporting
Early detection of defects during or after construction is essential to avoid costly reworks and delays. As such, project managers, contractors, owners, and developers should work closely to spot issues and implement fixes.
It’s also vital to take advantage of all resources including technical submittals and requests for information (RFIs) to understand the details and requirements of the project. This can help with early detection, which can lead to:
- Reduced costs: Some defects can worsen over time or require significant demolitions to fix. As such, early detection can help to resolve them early and avoid costly reworks and repairs down the road.
- Time savings: When a defect is identified at an advanced stage, it’s likely to take more time to fix, particularly when the fix impacts adjacent structures. Early detection can save time on repair and keep your schedules on track.
- Improved quality: Defects impact the quality of a structure or installation, leading to repairs and replacements sooner. This affects the overall quality of the project. Early detection can help fix them early to ensure consistent outcomes.
It’s crucial to note that every defect must be analysed and documented for future reference. Engineers, managers, designers and developers must take part in this process, especially when designs require changes to avoid future defects.
More to read: Construction quality management 101: Everything you should know

Steps involved in defect management
As part of your defect management plan, here are steps to take to address defects and ensure the project is on schedule.
1. Identifying and recording defects
You can identify defects during routine checks or inspections and this can be during or after construction. In this case, it’s essential to identify and document the type of defect through testing, visual inspections, etc. Be sure to assess the extent of the defect when documenting it.
2. Categorising and prioritising defects
Once the defect is reported, you need to categorise and prioritise it according to its urgency and severity. Typical categories are design, material, subsurface, operational, and construction. Having such a system in place makes it easy for designated crews to know their tasks. You should also prioritise each defect so that crews can know what to fix first.
3. Assigning responsibility for defect resolution
Depending on the extent of the defect, you might need one or more people to fix the issue. This means you might reassign or switch crews to ensure you have enough resources to fix the defect. The team will determine the corrective actions to take, including repair or replacement.
4. Tracking and monitoring defect resolution progress
Addressing a defect doesn’t stop at implementing the right fix. It’s vital to work with the designated crews or professionals to fix the defect in adherence to quality standards and to prevent it from reoccurring. Be sure to involve a testing team to ensure the fix resolves the defect.
5. Conducting follow-up inspections and closing out defects
After the defect has been resolved, it’s necessary to conduct follow-up inspections to ascertain the fix worked and that there are no any signs of recurrence. For some defects, follow-up inspections might take a few weeks or even months. If everything is okay, close out the defect and submit the necessary reports.
Leverage defect management software to streamline the process
The truth is, construction defects are a normal occurrence during projects and they occur due to several reasons, including uncontrollable factors such as weather. What matters is your ability to identify, analyse and fix the defect to ensure the project stays on track and to prevent costly reworks.
As a result, project managers need to establish a proactive defect management plan to increase the efficiency of resolving defects. You can simplify the process by investing in defect management software like LB Aproplan, which allows you to centralise defect information, automate defect tracking, improve communication, and create defect reports.
At LetsBuild, we’re confident that our solutions can simplify your defect management to help you deliver projects on time and within budget. Book a demo or contact us today to learn how our solutions can streamline your construction defect management.


